

If you haven't checked out Crimson Tate, it's time you gave her site a look - I did! She's pretty adorable! And this is one of her quilt patterns.
I dug really deep into my fabric stash for this one, and when I came back up for air, I found some fabrics from 10 years ago...I'm not sure how that's even possible. Time passes fast while we're busy quilting away! :)
I wanted to use a variety of color what would play nicely together for this quilt. While you search your stash for this project, keep in mind the pattern calls for WOF cuts, but I was able to use some fat quarters on the end pieces.

I randomly found this beautiful Victoria Findlay Wolfe fabric at a quilt store three weeks ago that I was able to pull into this quilt. I loved it and didn't know what I was going to do with the fabric at the time, but I quickly sourced it! It's really one of those great whites that you need to snag when you can find it and you'll figure out a use later. I found Victoria on Instagram and I'm so pleased to support her! Check her out if you haven't already.
And ask your local quilt store if they're caring her line, Meadow Storm. You'll be happy you did!

This pattern is quite fun and fast. I made the lap size so I made three strip sets of three, you get a choice of eight. These are really large blocks ,so it came together in a weekend for me. Have you're ol' trusted 24" ruler, cutting mat and rotary cutter in hand and you're in business! This would be great for candy corn colors...or is that just me? I love candy corn! Tis the season! :)


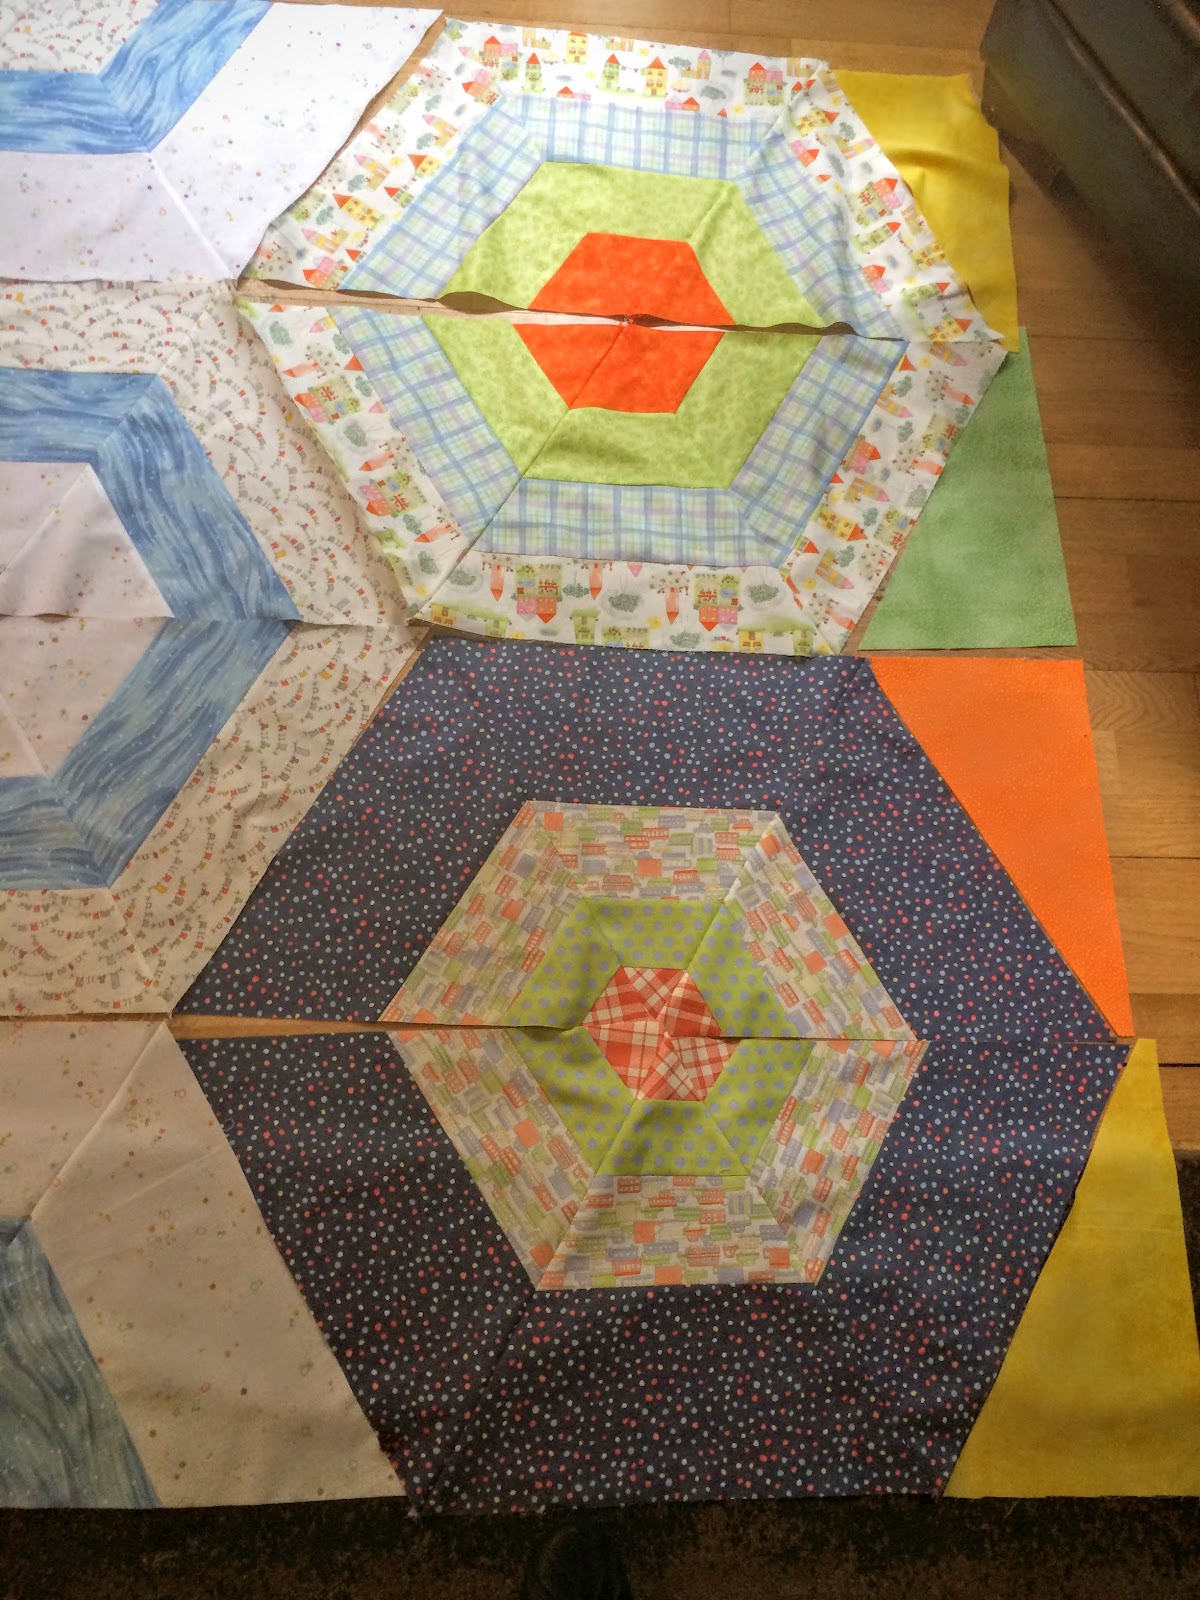
You slice these up into triangles flipping the pattern back and forth over the strip sets and then sew three matching sets together to make your hexagon. Be very careful to make sure your strips are the right size and all your tips are there. Guess why I'm pointing this out...yup. :) And you know me, I chain piece together whenever I can. Be sure to be very careful to match up all your seams - you'll really notice if they're off.

So here's my stack to make my hexagons. I find I sew much faster this way. Try it, you might like it as well. There's a lot less getting up and down, waisting thread, etc. I just start with the block on top and go through the blocks one after the other. Once I'm done I cut them apart and iron, iron, iron!

This is my lay out. Do you like it? It's a little different than the way the pattern has you lay it out, but I'm okay with that. I think this made sense with the colors I'm using. You chose what makes you happy.

I added my little rectangles on the ends. Again I used bright different fabric fat quarters, the pattern shows more of a muted background color, another dealer's choice here. You pick what you like.
I had to sit and look at the layout for a while on this...like two cups of coffee "a while". I couldn't figure out how I wanted to sew this together. I decided to look online to see what info I could find. Other then finding the cute Crimson Tate site, I really didn't find much out there. So...this is what I did. Let me know how you did it.
I worked from the right side left and I stacked the pieces one on top of the other so 1 is on top of 2, which is ontop of 3, ontop of 4. I chain stitch through the pile, cut them apart, iron and move to the left. It's like a dance...okay maybe I don't get out enough.

In this picture the first right seams are sewn together which means all the rectangles are now sewn to the half hexagons. Right now I'm only focusing on the seams running vertically. After all the vertical seams are sewn up I'll sew the horizontal seams.

I'm sewing half hexagons together that are going in opposite directions, but it's the same process. Stack, sew, iron lay them back in place and move to the left.

For the last row, I opt to go far left and sew the rectangles in place first. Stack, sew, iron and back in place. I then sew the right half with the left hand marring the two sides together.


Then I start the horizontal seams which is the easiest now because it's just 3 straight seams.
Fold the top down over row two.
I opt to sew row three to four and then marry the top and bottom together and then viola, you're done! You always have an option to add a border, but I don't think mine needs it.
I'll be pulling all the left over fabric to the back for some back art. I love using up my scraps this way and I like the story to continue on the flip side.

My little Succulent Garden...

x


 As I mentioned my nieces birthday is upon us. I made her the Coral, Queen of the Sea doll but she also ...)