Children's Coloring Tote: Part 2


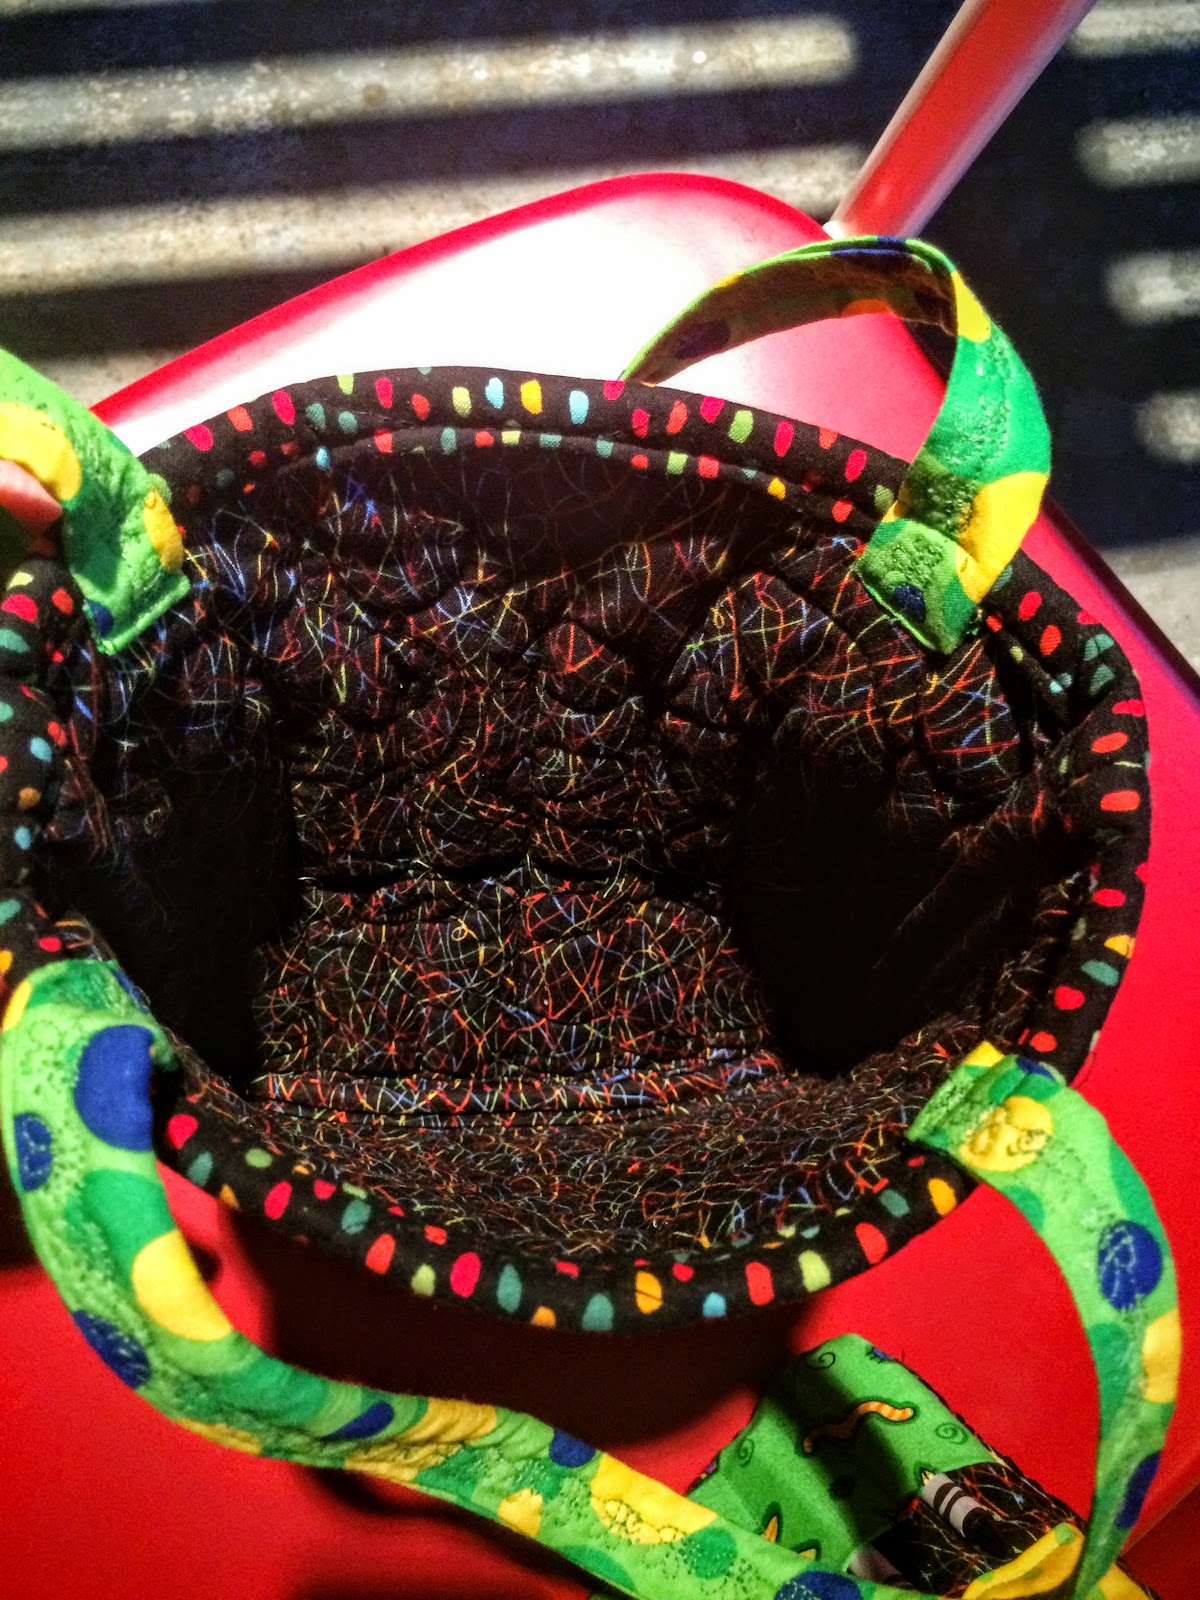
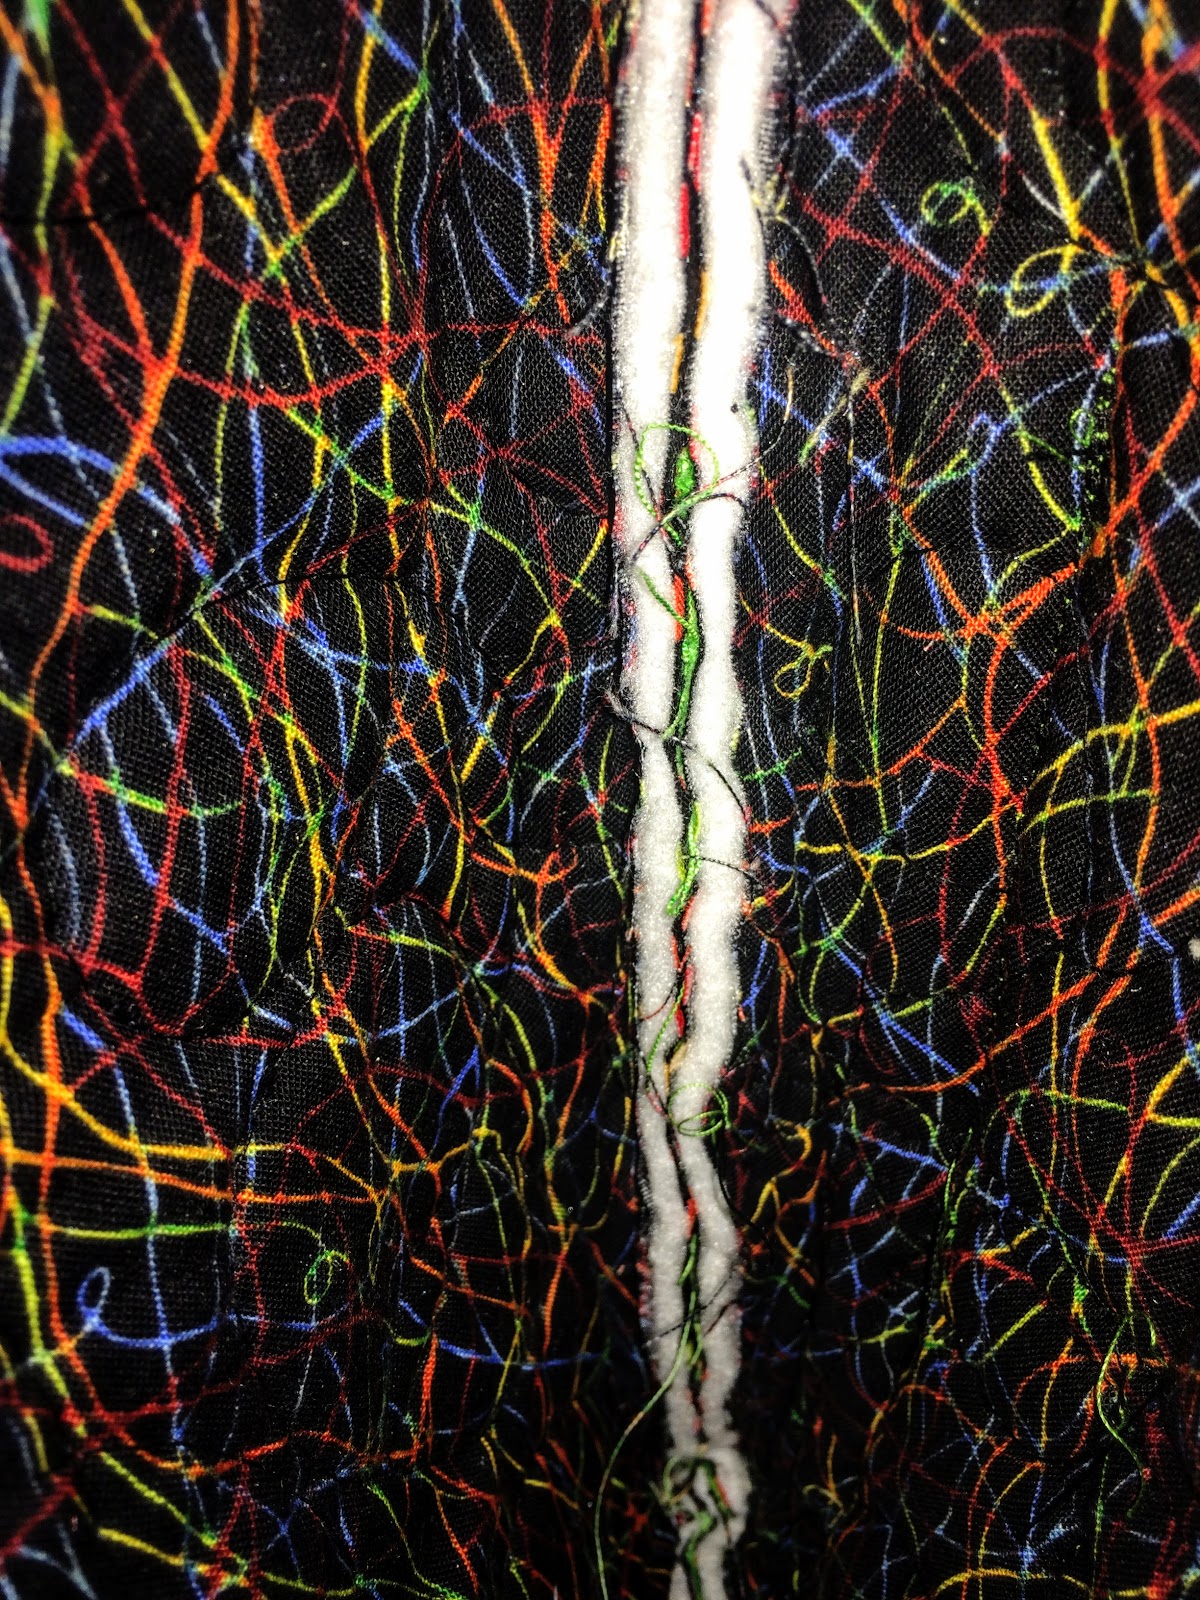
Sew, we are back at it! This is the inside seam of my crayon bag.  I don't like how unfinished it looks.  So what I'm going to do is create matching bias tape and encase the seam. 


This is a 1/2" bias tape maker from Clover.  These little guys are great to have.


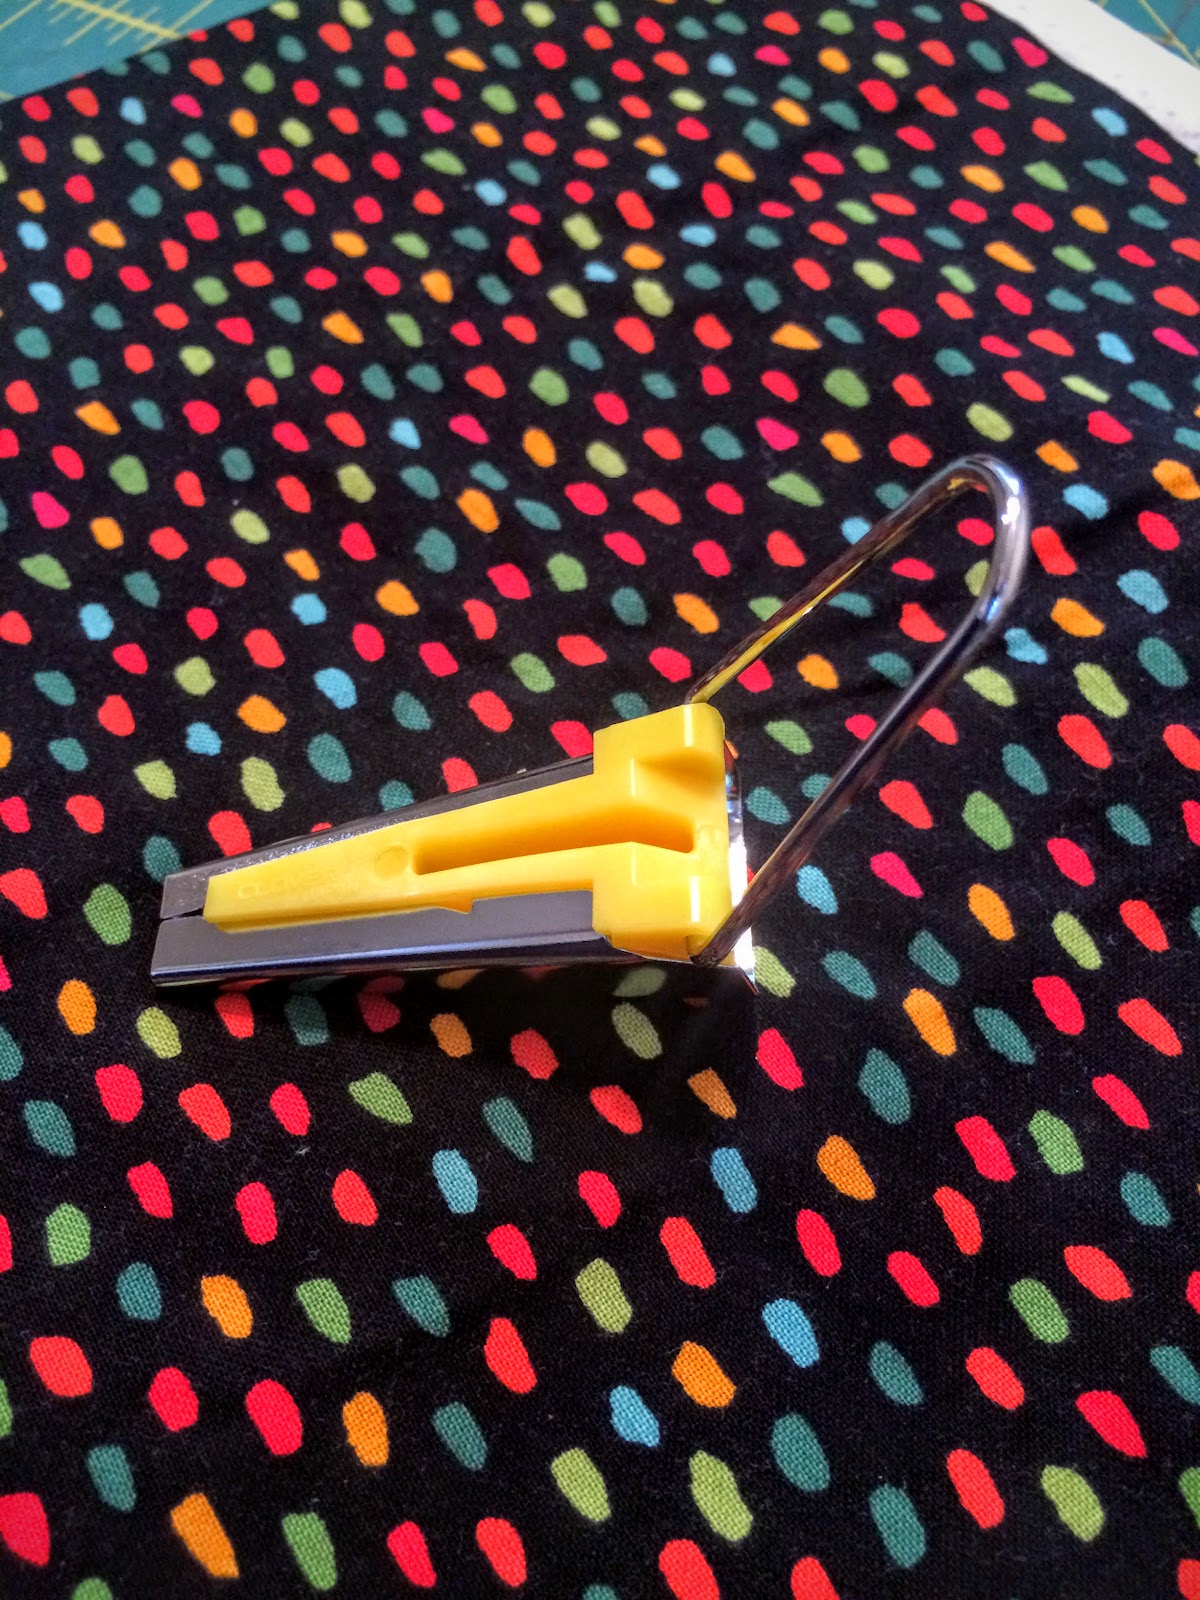
My dueling Iron and Bias Tape Maker.  I really love my iron, it's a Rowenta.  More on that later!


So taking my 1/2" tape folding it in half to make double folded tape leaves me with a 1/4".  That will just not work on that fat seam even after I trim it back.  

I just need to make my own, which is actually fun.  Take a look at this little tutorial if you need a refresher.  

Remembering how to fold the fabric correctly is the hardest part to remember for me, but once you have that down it's fun and you get to have whatever color bias tape your heart desires.  

My new tape is cut just over 2".  My double bias tape will be about a 1/2" once all the folding is done.  Remember to iron to set the folds but be careful with the steam of the iron!  You can really give yourself a bad steam burn.

Side note: I love my new Revlon nail polish!!!  It's called Chic (480).


Viola!  Way better!  The seam now blends in together and looks much more polished.


For the handles, I'm keeping with the bug theme! Buzz Buzz Buzz!


I found two bug coloring books to slip inside.  We are set!  Well as set at you can be to go to a two year olds Birthday Party and an extra bag for a future party! 


Children's Coloring Tote: Part 1


Today I'm working on a child's crayon carrying tote. We are attending a birthday party for a two year old this weekend, and I think this is just the gift. I love the bugs, but ran out of fabric for the second bag so we'll improvise :)
The bright colors are so eye catching I think Luca is going to really like his gift! I need to find some bug coloring books!

__________________________________________


Free motion quilting for the first time on the Lyric. Makes me think I can quilt a full size on here.


Measure twice, cut once. I hate making mistakes!


I used leftover batting from my wedding quilt. Seems it had too much loft. For this project, I'd recommend using a thinner batting.


Hmm, this is the inside view. Not loving the white batting sticking out like a sore thumb.  I'll need to sleep on it...


Simple Southern Pillow with Zipper


It started with a cute little dish cloth souvenir we found while on a trip to Thibodaux, LA.  When we got home from our trip, I discovered I had a perfectly matching fleur de lis backing fabric. 

 Don't you just love it when things come together like that?!


And here's my zipper.  Okay, here's the truth: I was a little nervous...I haven't put in a zipper in maybe 20 years, plus I was using my new sewing machine, the Babylock Lyric.  So, I YouTubed it!  If ever in doubt - YouTube :)


I even used my zipper foot! The pillow (and zipper) came out great!


Now for the stuffing!


Adorable! I was going to give as a gift but it's so cute, I might have to keep it!