Vintage Sewers

I don't know about you, but I love finding vintage sewing machines.ccI wonder how old they are, what they've made, where they've been.  I wonder what's happened to their owner?  Did they love their machine?  Did they sew all the time, or was it never pulled out of the closet?  Was it a wedding gift, or something they saved up to purchase?  Did they sew because they loved it, or was the sewing machine a way for them to earn a living?  What to you think about when you find an old beauty like this?


The following machines are in no particular order other than the order in which I found them. :)

You can barely read Singer across the front of this one.  It's been really well used. 

In 1851, Isaac Merritt Singer started the Singer & Company in Boston.  He created and patented the pressure foot to hold fabric and mounted the needle vertical.  Seems like that really set the standard for machines still today.  He also tried to patent the foot petal or treadle (I always thought it was called trendle, isn't it nice we can learn together!) but that had already been used for too long for him to include it in his patent.  But still, he kind of killed it with the longevity of his design don't you think?  It wasn't until 1857 until a true domestic machine, the Family Machine was introduced. 

Now I understand the love for classic cars.  I could sit here for hours looking at the curves of the machine, the colors, the knobs. I wonder if they still run and what it would take to fix them.

This Spartan is a Singer Manufactured sewing machine.  I do wonder why most of the sewing machine these days are white and most of the vintage machines are black.  I think I'd like a black sleek shiny machine!  What color would you like?

I'm not even sure who made this one, it was in a glass case and couldn't get into it, but you can surely tell it's an old one!

I found this one at my local Salvation Army.  It was $50 including the cabinet!   I'd love to take in old sewing machines and make them purr again, but let's face it, it's hard enough trying to find time to sew as it is without adding another to-do list! As it is, my husband hasn't had a warm meal yet this year!  Just kidding, he's a great chef.  Thank God or we'd never eat....and I might be thin. :0)


 And then theres that...what are these babies worth...?

Look at this beauty! This one wanted to come home with me!  It had a lot of the original parts, the hand wheel spun freely but I just have to wonder what the repair bill would be after spending $200 on it.


Look at this Little Betty! (ignore the creepy doll...if...you...can...)  These were made in England by EMG.  The company started making toy sewing machines in 1935. Straco was an American toy importer, and in 1940, they started importing these. At some point, Straco partnered up with Walt Disney of all people and Snow White was pusing sewing machines for a while!  Betcha didn't know that!

Umm, this is just true, I couldn't help myself!


The White Sewing Machine Company was founded in 1858 in Massachusetts by Thomas H. White. At one point in 1900 they also started making automobiles.  No wonder these ran so well!  :)  SVP Worldwide now owns both  Singer and White, and a few other names that I'm sure you'd recognize, Pfaff, Bernina, Juki.

This Singer is very close to the one I learned on, and sewed on for twenty years...then the light burned out!  Oh how I loved this machine!  

Isn't the artwork on each amazing.  All the designs or decals are different. 


This little (literally) Sew-O-Matic Senior is also made by Straco (the makers of the Little Betty).


This White even had it's original feet box with it.  Pretty amazing!


I found these next two at an Estate Sale just this weekend!  In doing some investigating, seems like there is not an Antique Sewing Machine Museum in the US.  There was one in Arlington, VA but it closed.  I'd love to go to a Sewing Machine Museum!  Add some fabric, and I'm there!


FYI, this is not my arm...if it was I would have waxed it first.  My husband wanted to show the size of this little Sew Handy Electric sewing machine.  At first I thought it said Sew Randy and thought that was a weird way to promote sewing! 

I hope you had fun strolling down memory lane with me.  I hope if you have a sewing machine, it's not tucked away in a closet.  If it is, take it out!  Take it for a spin!  Contact your local Quilt Store ask them when their next beginning class is.  Patronize a Quilt Store and they will help you learn how to use your machine!

Honor Thy Ghastlies...


Let me first admit to you that I love, love, love, The Ghastlies. I've been hoarding the fabric collection for years. Thank you Alexander Henry!  I adore the detail and the fun spookiness of the family!  I had a hard time finding a quilt pattern that played to the fabric's strengths, until now.  And thank you Quilters Cottage for showing me the way!  They used a quit pattern from Villa Rosa Designs called "Honor."  It's perfect for focal fabrics that, do I dare say, are too neat to cut up! And this is where I found my inspiration! 


I mixed different years of The Ghastlies together... and I had to of course include Sebastian the cat!
Sometimes it's hard for me to follow a pattern exactly, especially this one because of the cheekiness of the cute fabric. How can you not love these faces? This is me in the morning...


This is me at work minus pointing the finger, but most def with an owl on my head!  :) 


It's like a family portrait from Thanksgiving! Minus the staff! :)


This pattern is really just a bunch of strips sewn together. It's a great starter quilt for anyone just beginning. Remember when sewing strips together you want to sew each strip together from opposite sides - not all of them from say, the left side. If you do, you might end up with leaning quilt, and nobody wants that.  

In adding to the quilt pattern, I thought throwing in corner stones would be fun.  That would allow me to use a sizable boarder for Sebastian the cat.

Here, I'm auditioning one of my options.  I'm really big on taking photos to provide a different point of view when auditioning.  This is showing me the white is too light for what I'm looking for.


I think these wonky stars are just what we need!
Doesn't that play nicely?


Now for the back!  I've become a big fan of using up all the scraps on the back.  I find it makes it more interesting -  it's like two quilts in one!  I lay the quilt top down (face up) and then build a back on-top of it, just playfully sewing the scraps together.


...and it just grows and grows.


See the quilt top peaking from the bottom?  


I find it very relaxing and carefree!  I let the fabric do all the talking. Remember your backing needs to be 4"larger than the top for quilting on a longarm, just to be safe! 


We wanted to keep with the playfulness for the quilting so we quilted it with a nod to the wall paper at the Haunted Mansion at Disneyland. :)


I love a good puff in my quilts.  We don't need a lot of warmth in the quits we make since we live in California, but I gotta have a great loft! We used the deluxe cotton.

And now the binding!  I mitered the 2 1/2" strips.  If you don't do this all the time, it can get confusing.  Lay the first strip down, RS up (running nose to belly button)  cross the second WS up overlaping the ends, (right sides together) right shoulder to left shoulder.


Draw a line from the upper left side v to the lower right side v.  Think of it like your sewing Oregon to Florida not Maine to California.  (I heard this in a class and I love it, hope it helps you too!) Pin it following the penned line and pull it as if it's sewn together.  It will be pretty obvious at this point if it's pinned going in the correct direction.

If it is correct, change the direction of your pins, crossing the penned line and sew it up.  If it's not just try it again! I hope the pictures help!


Hand Binding time!  I use to hate, hate, hate hand binding, but not bad enough to machine it down. I'd just let the quilts stack up.....I had an entire pile of quilts that needed to be hand sewn.  And I've heard people love to hand bind!  I had to get the the bottom of this, so I grabbed my quilt and headed down to my local quilt shop to ask for guidance.  That, my friends, is why they are there!  When I walk in, it's almost like Norm walking into Cheers...I hope there are some of you old enough to know the reference.  So after they stopped laughing at me for doing it backwards all these years, they showed me the way...and now I'm happy to say, I love it! It's so relaxing!  

If you ever find yourself with questions zip over to your local shop.  They really do want to help you. Most people who work at Quilt shops are there because they love the process and would love to share their knowledge with you!


And here's 'Honor Thy Ghastlies'! I hope you too are able to see a pattern and add your own personal touches to make it yours.

 My back art....I love the little girl on the tree branch.


In my mind, this is where the Ghastlies would live!  Just down the street from us at the Heritage Musem! :) 

Road to California: Tips and Tricks for a Quilt Show


I've gone to a lot of Quilt shows in my life - never enough shows - but a lot of them.  I love everything about them except for maybe how my feet feel afterwards! (more on that later!)


I went to this years Road to California Quilt show in Ontario, California.  It was pretty great.   The weather even cooperated.  You may be thinking the weather is always nice in Southern California, but this year we have  been getting a ton of rain! A third of the show is now held outside in a large tent because the show has become so large.  


I don't know about you, but I always prep for a large show and if you've never been to one I hope these tips will help you become a Pro!

The most important tip I have is wear comfortable shoes!!  Trust me, you will thank me later!

Next, empty out your purse!  You aren't going to want to lug around a 10 pound purse and then 20 pounds of newly purchased fabric!  I use a light smallish cross-body bag for adventures like these.  

I also carry a lightweight medium to large handmade bag to put all my newly acquired must haves in.  (Plus you're helping  the planet by not getting a plastic bag for every purchase.  They add up quickly!)

Purchase your tickets ahead of time from your local quilt store. By doing this, you don't have to wait in line at the show and your supporting your local store.  They won't be around if we don't!  Place your ticket in the bag along with some water because you're going to be talking to a lot of folks!

Be sure you know the address and show hours. Make a list of items you need or are on the lookout for.  Get a good night sleep if you can.  Like a child on Christmas Eve I'm normally super wired thinking about all the new interesting goodies I'm going to find! 


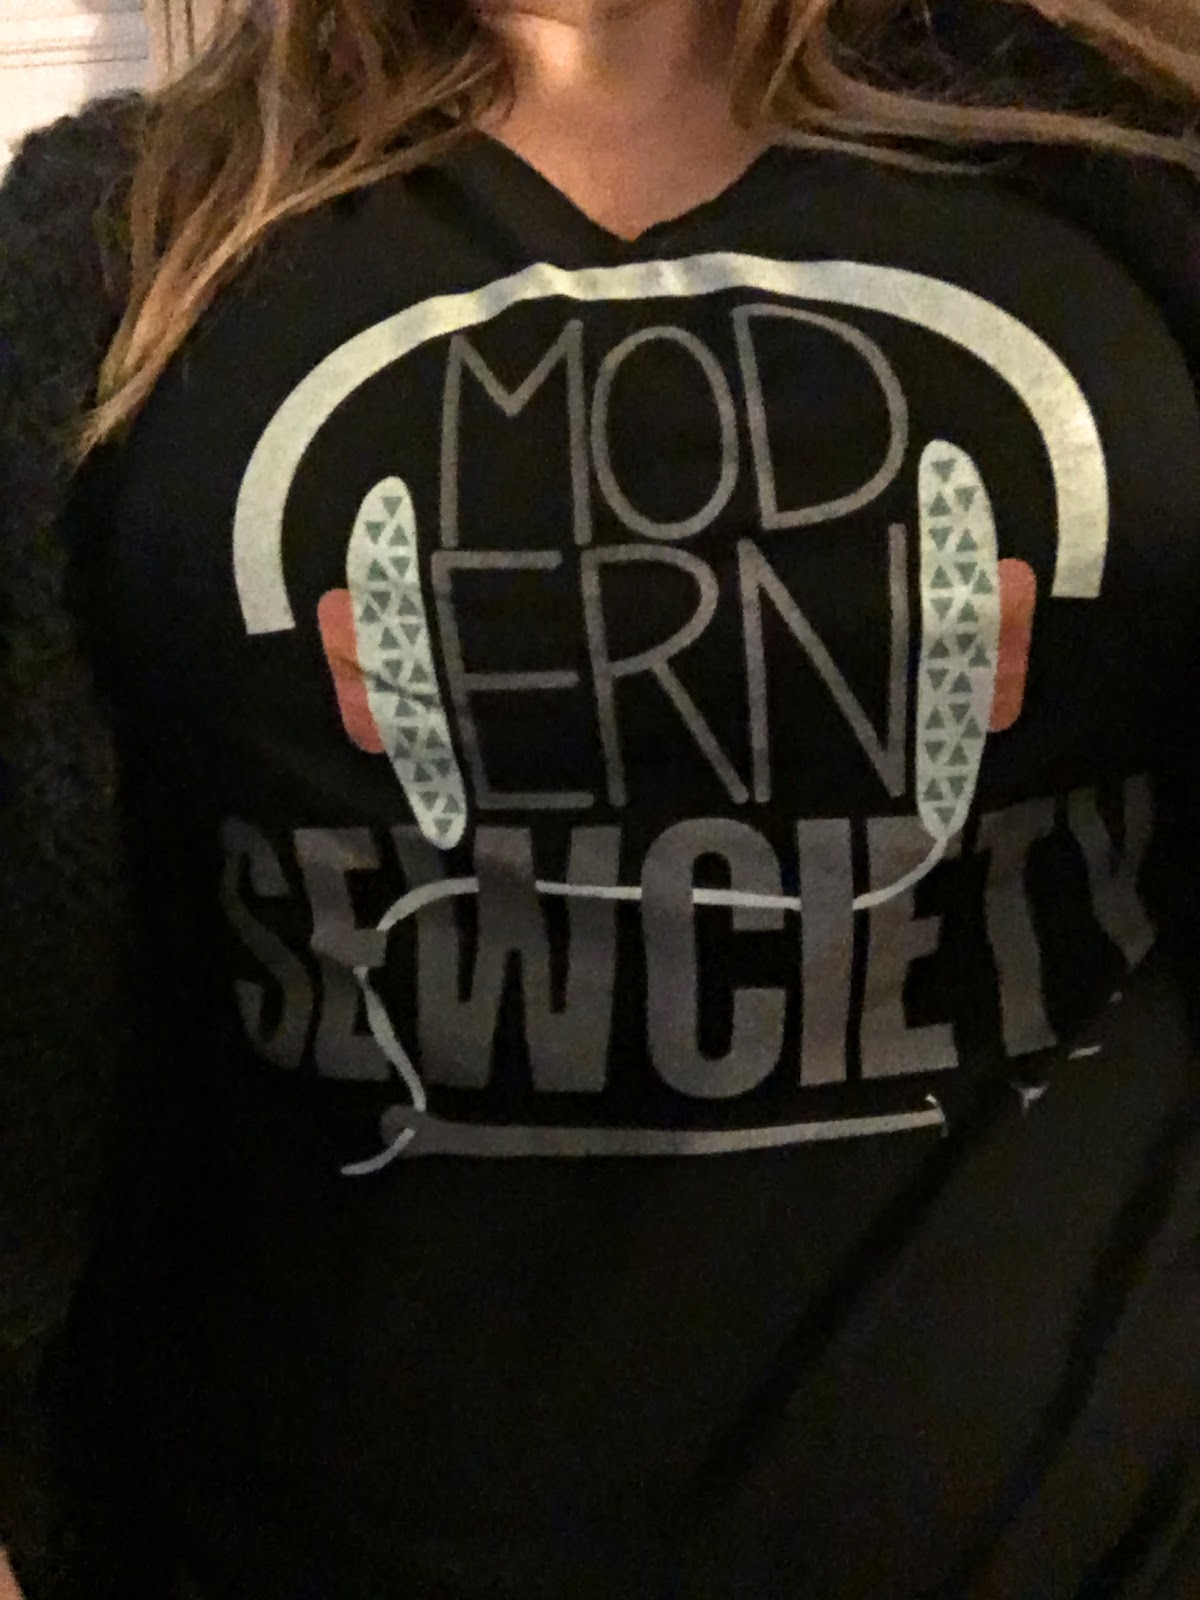
This year I wanted to show support for a wonderful sewing podcast that I love, so I was rocking my Modern Sewcity shirt!  I love this podcast, it's like having friends who are passionate about sewing sitting around with you, plus I get so inspired by all the guests. 


Enough about me...do you want to see some of these beautiful Quilts that were on display?  I do!  Beautiful Quilts are hung in the entry way, to greet you and build on your excitement about what's to come!


Lots of Mini Quilts - they look like a painting!


Isn't this Melissa from Pink Polka Dot Chair a new line?  I think it is!  Wonderland by Riley Blake! I'm a big fan of Melissa's blog and her patterns are wonderful! 


It's very sweet.


I have this pattern. I love these fabric choices..I'm inspired!


Awe, how can you not love this?  I love it! My Mom made me a Raggedy Ann doll as a young child.  This just pulls at my heart strings. 


Ghastlies, just cuz. I love them!


I really don't have the words for this one..maybe amazingly creative?  And I love that it's just the back half and the bottom is do I dare say...catiwampus!  Had to do it!


These just look like paintings!


How is this possible?


This might need to be my new screen saver.  For the record this is an Eagles face.  I called it another type of bird, but no kids, it's an eagle!


Drum Roll Please!!


Best of Show!

My two favorite booths this year were By Annie and Fiberworks.  By Annie has some great patterns for bags along with all the hardware needed and Annie's very own Stabilizer, I should add her to our earlier blog about all the different kinds! 

Fireworks makes these amazing paper piecing patterns, they had very fun fabrics but be warned these patterns are not cheap nor for the faint of heart!  That said I purchased this house patten and it could be my most prized new goodie from the show!


Let me know your tips and tricks to having a fun day or two at a Quilt Show!

Here is a link to the Show's website: Road 2 CA Quilt Show website.  Scroll to the bottom for a handy Frequently Asked Questions section about do's and don't's at the Show!