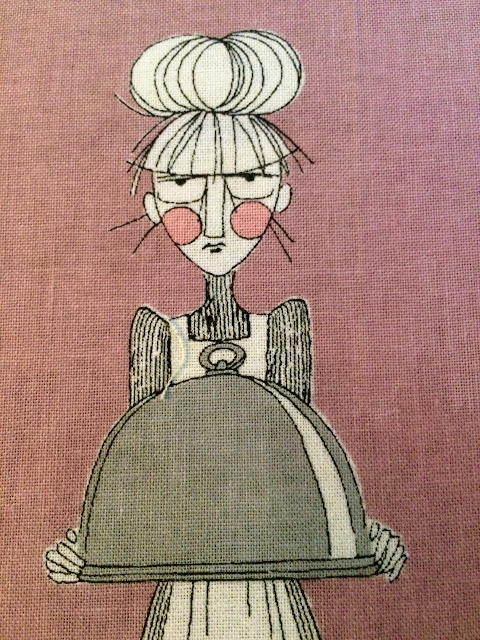
Let me first admit to you that I love, love, love, The Ghastlies. I've been hoarding the fabric collection for years. Thank you Alexander Henry! I adore the detail and the fun spookiness of the family! I had a hard time finding a quilt pattern that played to the fabric's strengths, until now. And thank you Quilters Cottage for showing me the way! They used a quit pattern from Villa Rosa Designs called "Honor." It's perfect for focal fabrics that, do I dare say, are too neat to cut up! And this is where I found my inspiration!
I mixed different years of The Ghastlies together... and I had to of course include Sebastian the cat!
 Sometimes it's hard for me to follow a pattern exactly, especially this one because of the cheekiness of the cute fabric. How can you not love these faces? This is me in the morning...
It's like a family portrait from Thanksgiving! Minus the staff! :)

This pattern is really just a bunch of strips sewn together. It's a great starter quilt for anyone just beginning. Remember when sewing strips together you want to sew each strip together from opposite sides - not all of them from say, the left side. If you do, you might end up with leaning quilt, and nobody wants that.
In adding to the quilt pattern, I thought throwing in corner stones would be fun. That would allow me to use a sizable boarder for Sebastian the cat.
Here, I'm auditioning one of my options. I'm really big on taking photos to provide a different point of view when auditioning. This is showing me the white is too light for what I'm looking for.
 I think these wonky stars are just what we need!
Doesn't that play nicely?
Now for the back! I've become a big fan of using up all the scraps on the back. I find it makes it more interesting - it's like two quilts in one! I lay the quilt top down (face up) and then build a back on-top of it, just playfully sewing the scraps together.
...and it just grows and grows.
See the quilt top peaking from the bottom?
I find it very relaxing and carefree! I let the fabric do all the talking. Remember your backing needs to be 4"larger than the top for quilting on a longarm, just to be safe!
We wanted to keep with the playfulness for the quilting so we quilted it with a nod to the wall paper at the Haunted Mansion at Disneyland. :)
I love a good puff in my quilts. We don't need a lot of warmth in the quits we make since we live in California, but I gotta have a great loft! We used the deluxe cotton.
And now the binding! I mitered the 2 1/2" strips. If you don't do this all the time, it can get confusing. Lay the first strip down, RS up (running nose to belly button) cross the second WS up overlaping the ends, (right sides together) right shoulder to left shoulder.
Draw a line from the upper left side v to the lower right side v. Think of it like your sewing Oregon to Florida not Maine to California. (I heard this in a class and I love it, hope it helps you too!) Pin it following the penned line and pull it as if it's sewn together. It will be pretty obvious at this point if it's pinned going in the correct direction.
If it is correct, change the direction of your pins, crossing the penned line and sew it up. If it's not just try it again! I hope the pictures help!

Hand Binding time! I use to hate, hate, hate hand binding, but not bad enough to machine it down. I'd just let the quilts stack up.....I had an entire pile of quilts that needed to be hand sewn. And I've heard people love to hand bind! I had to get the the bottom of this, so I grabbed my quilt and headed down to my local quilt shop to ask for guidance. That, my friends, is why they are there! When I walk in, it's almost like Norm walking into Cheers...I hope there are some of you old enough to know the reference. So after they stopped laughing at me for doing it backwards all these years, they showed me the way...and now I'm happy to say, I love it! It's so relaxing!
If you ever find yourself with questions zip over to your local shop. They really do want to help you. Most people who work at Quilt shops are there because they love the process and would love to share their knowledge with you!

And here's 'Honor Thy Ghastlies'! I hope you too are able to see a pattern and add your own personal touches to make it yours.
My back art....I love the little girl on the tree branch.

In my mind, this is where the Ghastlies would live! Just down the street from us at the Heritage Musem! :)


No comments:
Post a Comment